YOU CAN CLICK ON THE PICTURES TO ENLARGE THEM AND ZOOM IN
1. I put tape over the sticker to protect it and help with removal.

2. Peel off sticker, I use a razor/exacto knife.

3. Cut off excess tape. I cut close to the bottom of the text so the sticker will not cover the hdmi hole.

4. Mark out the hole with the template. Print a template from this page.

5. I start the hole with a 3mm or similar drill.

6. I usually put 3 holes inside the box outline and cut out between them with flush cutters.

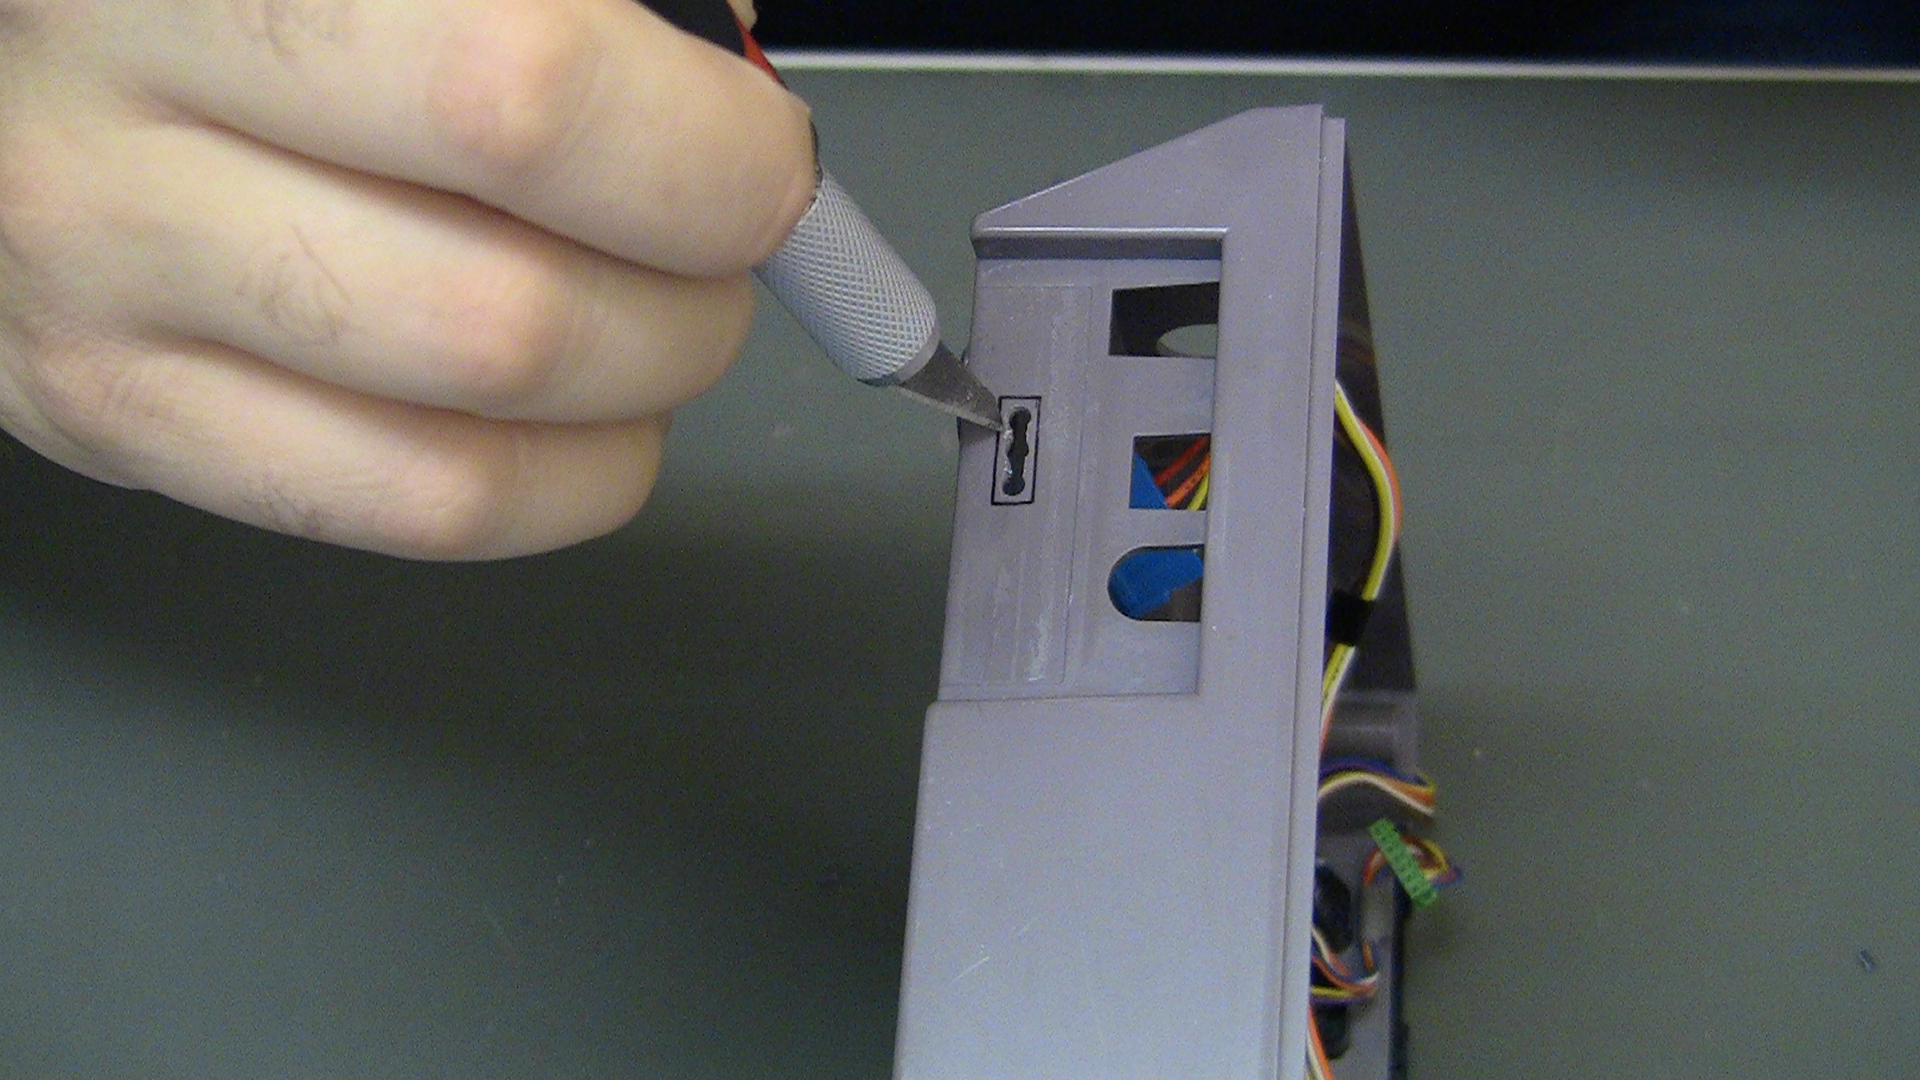
7. I then use an exacto to slice out as much plastic as I can.
8. Cut the post shown.

9. Then start filing out the hole.

10. Flush cut the solder blobs on the hi-def nes main board.

11. Test fit the main board, continue cutting or filing till the hdmi connector fits perfect.

12. I use rubbing alcohol to remove any permanent ink not filed off.

13. Put sticker back in place.

14. Remove and excess plastic from rear with knife.

15. Drill mount hole for main pcb, use a 3mm or 1/8″ drill bit.
