Hi-Def NES install guides
NES-101 Top Loader and HVC-101 AV Famicom
Main assembly
YOU CAN CLICK ON THE PICTURES TO ENLARGE THEM AND ZOOM IN
These guides are the same for the top loader and av famicom.
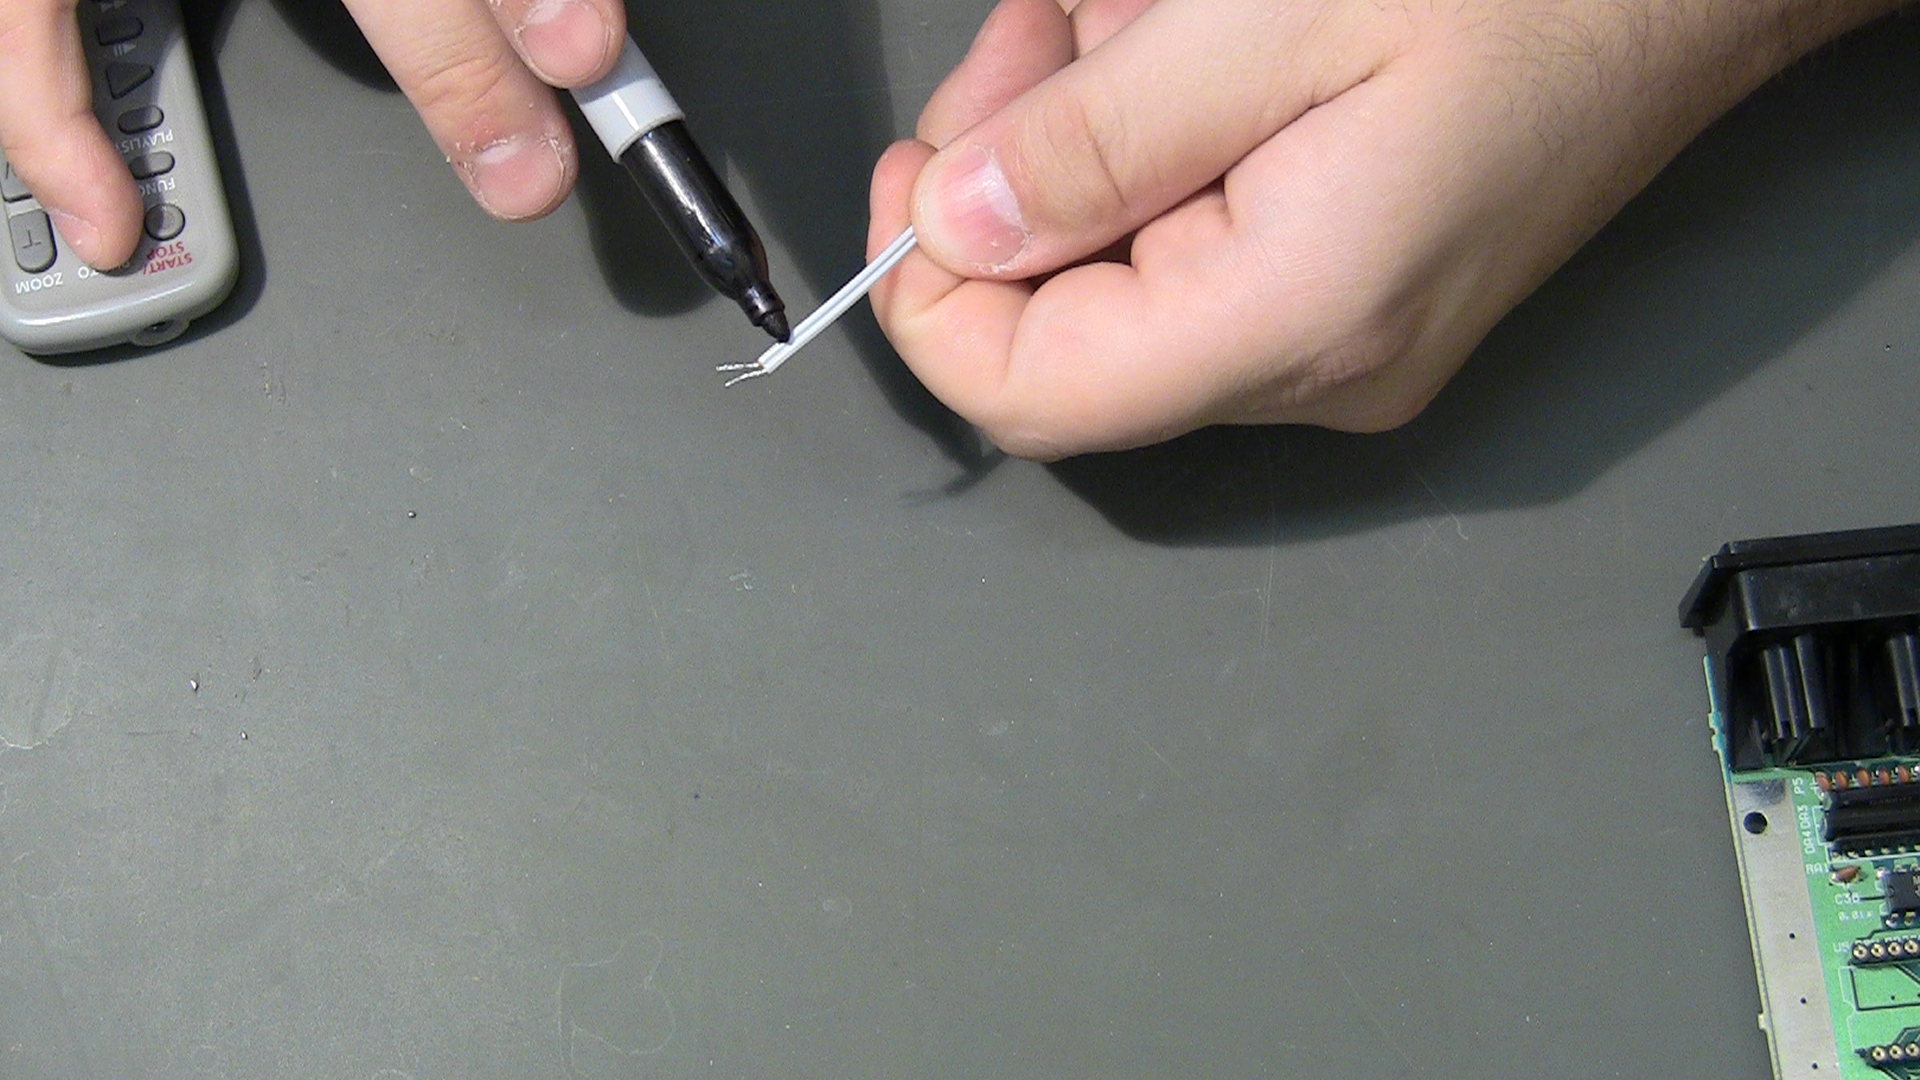
1. Prep 6 inches of 2 conductor ribbon cable or similar, 28 gage or thicker, mark one as your ground on both ends.

2. Solder leads to hole where 7805 was pulled from, center hole is ground and left hole is input voltage, right hole is not used.

3. Solder the other end of the 6 inch lead to the pads for voltage in and ground.

Optional – solder in your LED. Use the two pins of the cart connector for +5V and GND.

4. Pull ribbon cable locks out for all 4 connectors, 2 on main board, 1 on each interposer.

5. Insert ribbon cables in to locks on each interposer and lock them in.

6. Insert interposers in to sockets on nes mobo.

7. Insert and lock corresponding ribbon cables to main board.


8. Remove paper backing and press foam square on to fpga chip.

Alternately you can skip the foam spacer and drill a hole in the bottom shell and mount the main baord using a nut and bolt.
9. Flip nes mobo over and put in place making sure led wires exit properly and power wire is not crushed between nes mobo and base ribs.

10. Screw in a couple screws to secure in place and test your work. If the kit works replace the other screws to nes mobo.
11. If you have the LED, remove power button, drill your hole in the plastic divet, I use a #32 bit so the LED is press fit so no glue is needed, bend led leads down so they won’t touch power switch.
There is a video of the LED install here.
12. Place top shell on to nes making sure no wires get pinched and fasten with 4 security screws.
ENJOY!!!!!!!!!
You must be logged in to post a comment.