Hi-Def NES install guides
NES-001 Front Loader
Disassemble and Prep
Preparation:
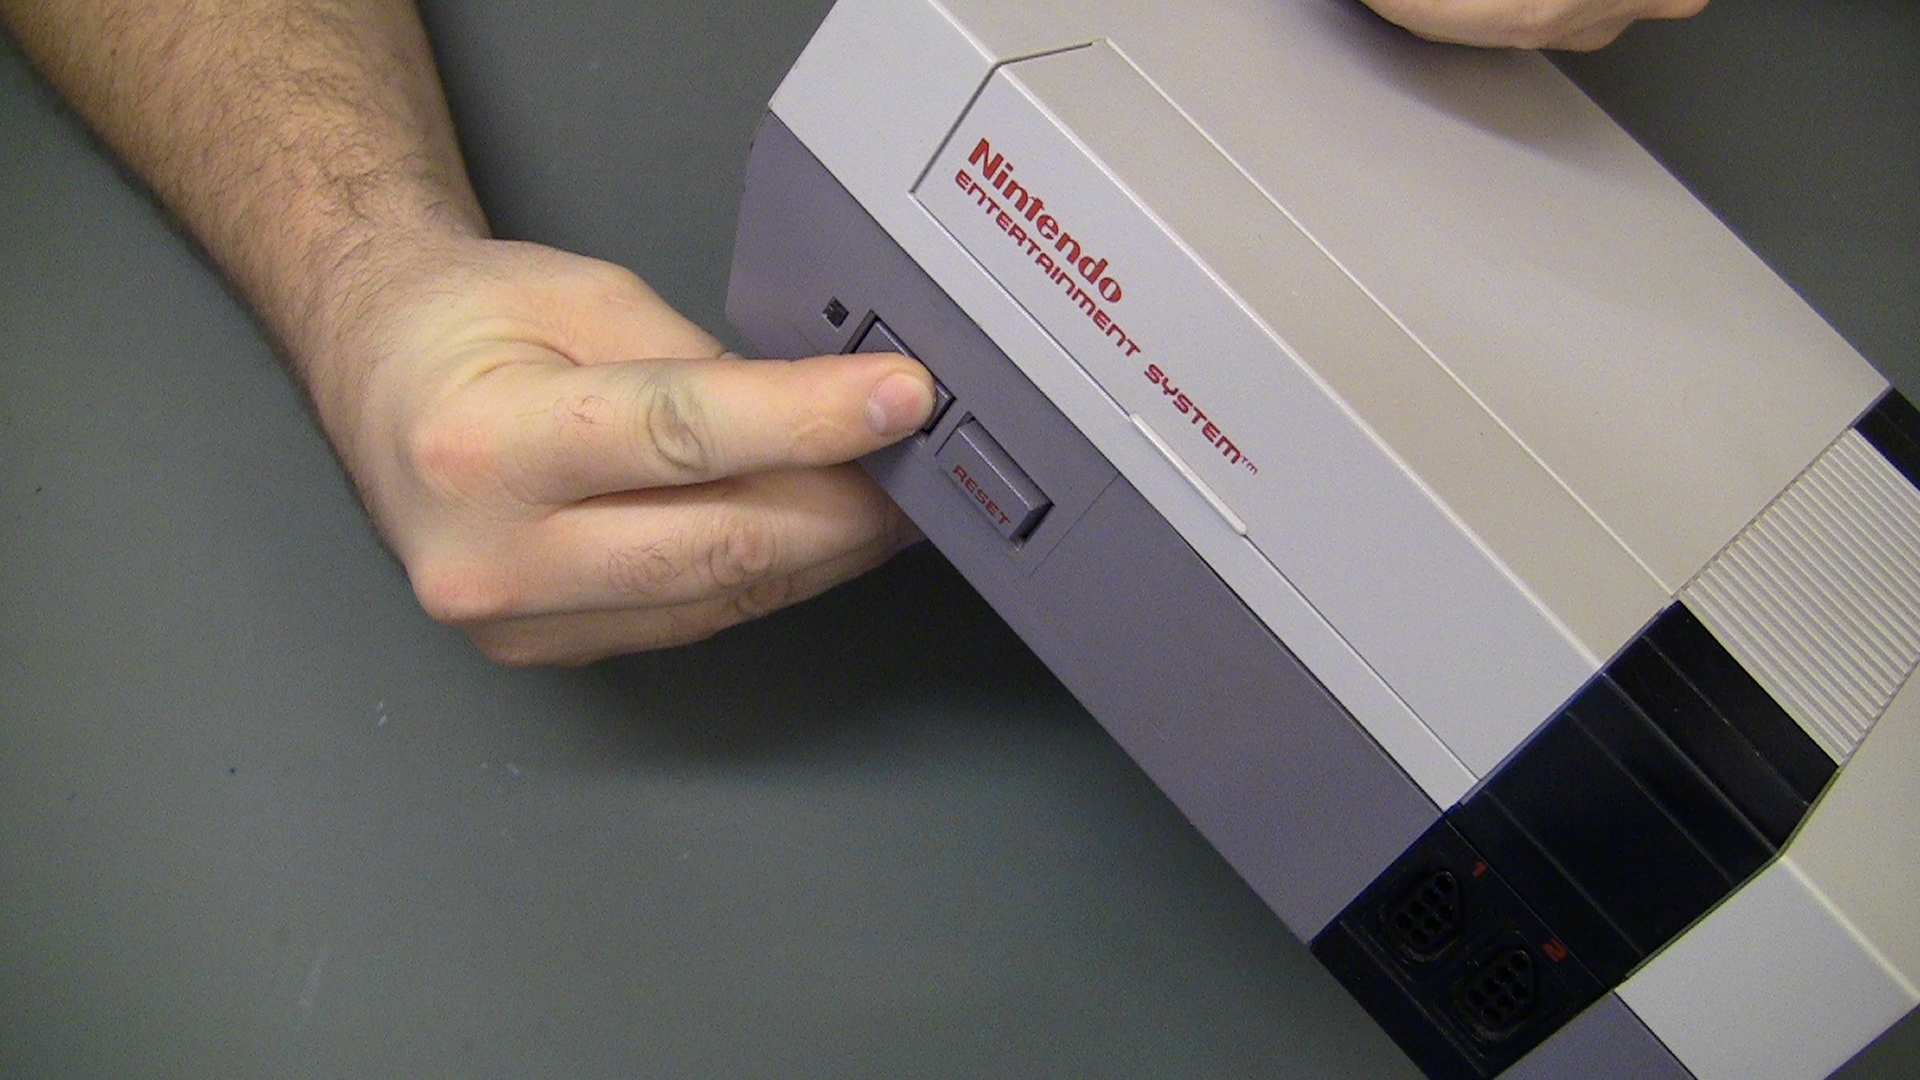
1. Unplug the console and turn it’s power to on, this will de-energize the caps and make it safer to work on.

2. Remove 6 philips screws holding console shell together.

4. Remove all screws holding RF shielding in place, usually 7 but early consoles have 8.
5. RF shield can be set aside.

6. Remove the 2 screws holding down the RF module.

7. Remove 6 screws holding cart tray and connector in place.
8. Take note of the longer screws and location, most of the time they are a silver color, but they are the same color as the rest on early consoles.

10. Remove cart connector (ZIF) and set aside or discard if replacing with new one.
11. Raise motherboard and remove the 2 controller and 1 power/reset wire connectors.

13. Bottom RF sheilding cannot be reused with the Hi-Def NES kit so discard it or put in storage.
This is a good time to clean all the parts of the console.


You must be logged in to post a comment.