Read the official Wiki first, here.
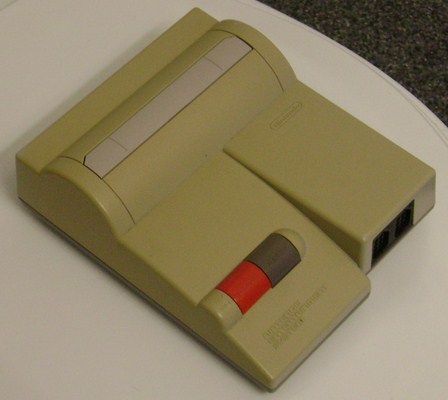
The NES-101 or “top loader” was released around 1993 and few were made, making it very collectible and one of the greatest reasons to get one, no one else will have one. They are also superior to the original front loading (toaster) unit as the cartridge connector never wears out and with little cleaning the game loads the first time every time – no more blinking or blowing or frustration!!! This is still an original Nintendo so there few compatibility issues with any games or accessories, read accessories section below.
Video output format is NTSC, but all top loaders will play NTSC and PAL format carts! NTSC is United States etc. and PAL is the Europe video format. The lockout chip was left out when redesigned since it was obvious there would be few new pirated games Nintendo needed to try to keep from working on the console.
Why is this so great!? Well you can buy some games that were never released here in the states and play them on your tv! Games like the Smurfs, Parodius, Ufouria, Trolls in Crazyland, Rodland, Parasol Stars: Bubble Bobble 3 The sequel to Rainbow Island (Bubble Bobble 2), Konami’s Hyper Soccer, Hammerin’ Harry, Banana Prince, and New Ghostbusters II !!
I have heard many complaints that newer clones like yobo and messiah won’t play every game released for Nintendo, but you get what you pay for…
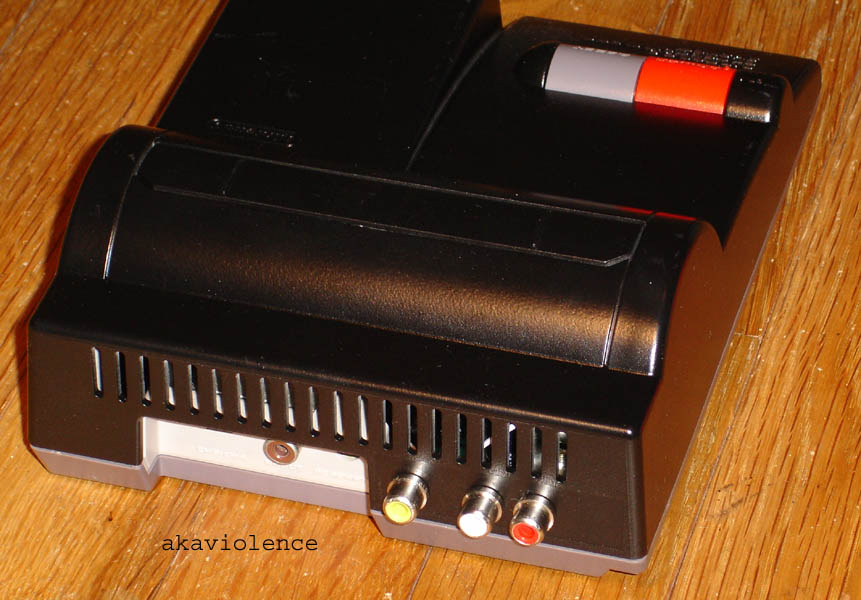
The top loader was redesigned to be a cheap console for people to buy instead of the new and relatively expensive super Nintendo. I’ve heard Nintendo did some research and thought not many people were using the composite output on the original front loader so didn’t bother putting it on the new top loader. Maybe they were right, but that’s just not the case these days and that’s why I mod them for composite output. Check the Customer Map to see if i’ve sold one near you.
Looking for a Top Loader? Here’s some info on what to watch out for:
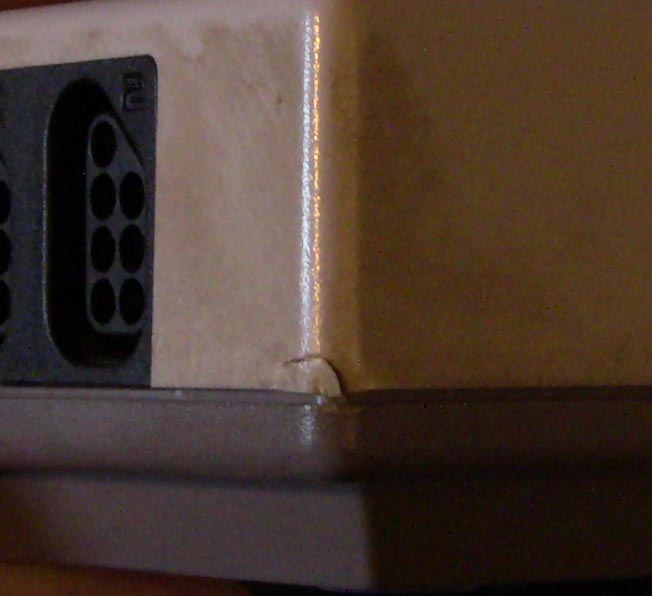
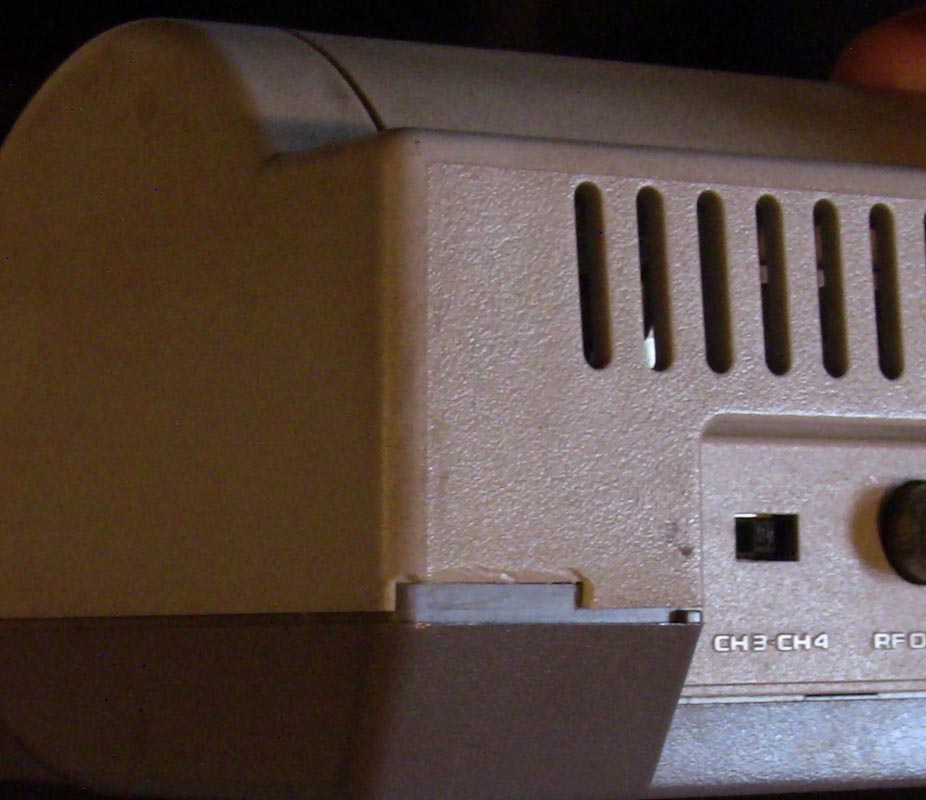
When looking to buy a used system there are a few things i’ve learned to look for that are common problems, but the main one is cracks. These units tend to get stepped on or whatever happens and they will crack across the top. Usually NOT visible in a picture unless the unit is really dirty and makes the crack more visible. If it’s clean the best way to find the crack(s) is the push on the areas between the cart slot and the power/reset buttons and also between the cart slot and the controller ports. Another physical defect to look for which is more common but less of an issue is chips on the corners where the bottom and top shells meet. Most often found in the rear as it protrudes outward, but also sometimes at the power/reset front corner as well.
Another uncommon issue is cigarette stains/melted spots. I have a console with a shell that someone used as their cigarette holder, right where the flat area behind the controller ports and the cart throat meet. It’s stained brown and melted like a soldering iron was touching it for a few seconds and it is not repairable.
Sometimes you will also see one for sale that is missing the cart throat cover, if it’s a great buy go for it, but you will not find a replacement piece.
Having said all that i’m continually amazed at how nice the shell on the top loader always turns out after a decent cleansing! Don’t shy away from a unit just because it’s really dirty, they are easy to clean.
Buy a bit that will remove the 4 screws holding the shells together, easy to acquire through various places, usually called game bits. Hot water and dish soap usually does the trick, but I also have a toothbrush style brush with brass bristles for the tough stuff and tight areas.
Occasionally you will find one that’s yellowed from sun exposure, this is repairable in two ways, paint it or retr0bright it, I’ve done both with a few shells. I did a few with Krylon Fusion black spray paint, its meant for plastic, and they looked great until I put them together, a black shell didn’t match well with the red and grey power/reset buttons and the piece that has the power and r/f and channel select on the back really stands out if you don’t paint it as well and it’s really hard to paint without serious effort. The dark grey bottom shell was also a bit of a contrast, but also hard to paint without serious effort of masking off all the stickers and labels on the bottom.
Here’s a look, notice the cool black controllers! Those were made for hotels from what I remember. I even tried one all black, wish I had a better pic, but these were taken way back in the 3.2MP days!
The other option, the retr0bright process, is actually mad scientist fun! Check it out here. This process works on most all plastic yellowed by sunlight exposure, I’ve used it on PC Engine white consoles, all kinds of nes controllers, as well as a few top loader shells.
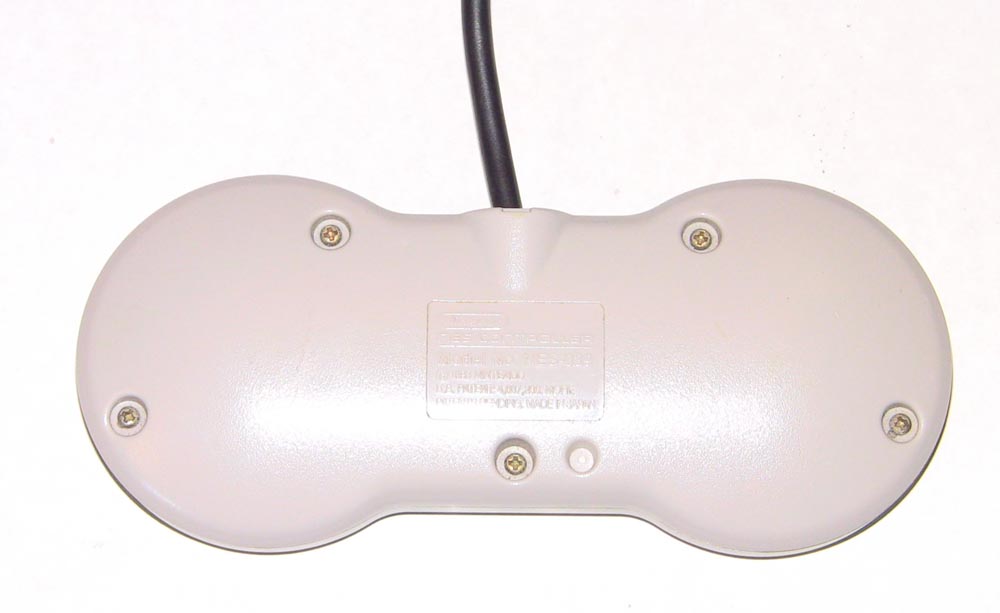
The cart connector is not external, but deserves some attention and is easily inspected by simply pushing the throat cover down. This is the 72 pin connector, but it is not a ZIF (zero insertion force) like the front loader, it is more like an ISA slot connector on a computer motherboard. The biggest issue I’ve had with the connector is usually they just need a really good cleaning, they are not know for wearing out and have an excellent track record. I use 409 or some other degreaser with those cart looking cleaner tools, then to wash off the residue the 409 leaves behind I have another cleaner tool dipped in alcohol and repeat the connector cleaning process. Also it acts like a trap for trash, sometimes so much crap can build up that the cart will not go all the way into the connector or more commonly crap will keep a number of pins from contacting the game lands and the game simply won’t boot. I use an exacto knife to dredge out as much crap as I can. Rarely have I had to bend pins back into place but it does happen, even less often have I had a connector with broken pins, luckily they are two pronged and the other was intact or it was an unused pin. The connector is not easily replaceable, luckily I’ve never needed to replace one.
The serial number!
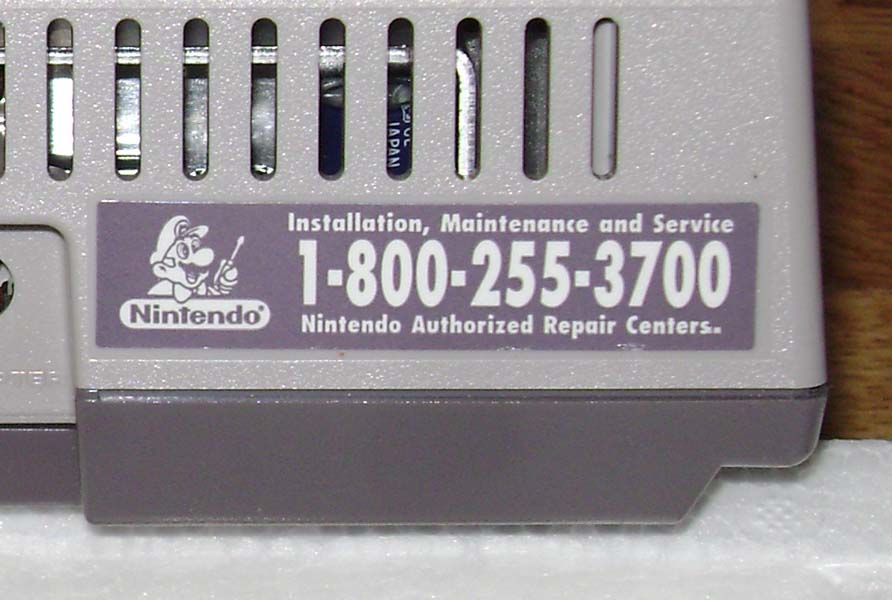
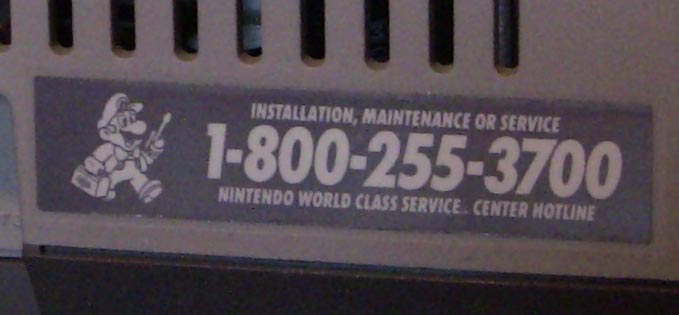
This is for collectors, there is not yet any extra value associated with this, but it is worth noting. If the serial number is NN106 it has a different 1-800 Nintendo help center sticker on the back. No other difference as far as I know. I’ve kept track of most of the serial numbers of systems I’ve had, NN106084560 is the highest I’ve number I’ve seen. This leads me to believe there were almost 6.1 million consoles sold in the states, but that is just speculation. I would also guess that a higher serial number means it’s a newer console, but I’ve seen mint consoles with low serial numbers and vice versa.
Repaired Consoles
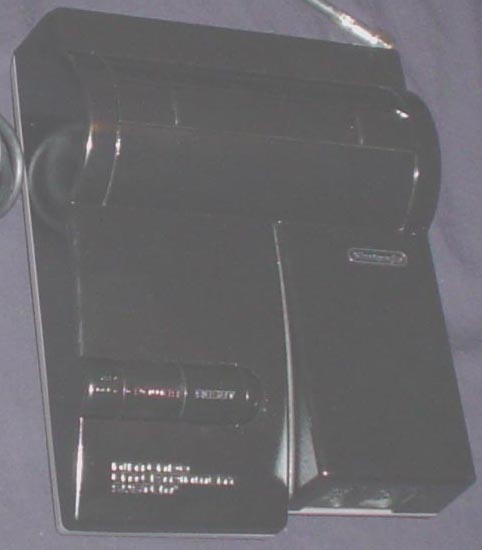
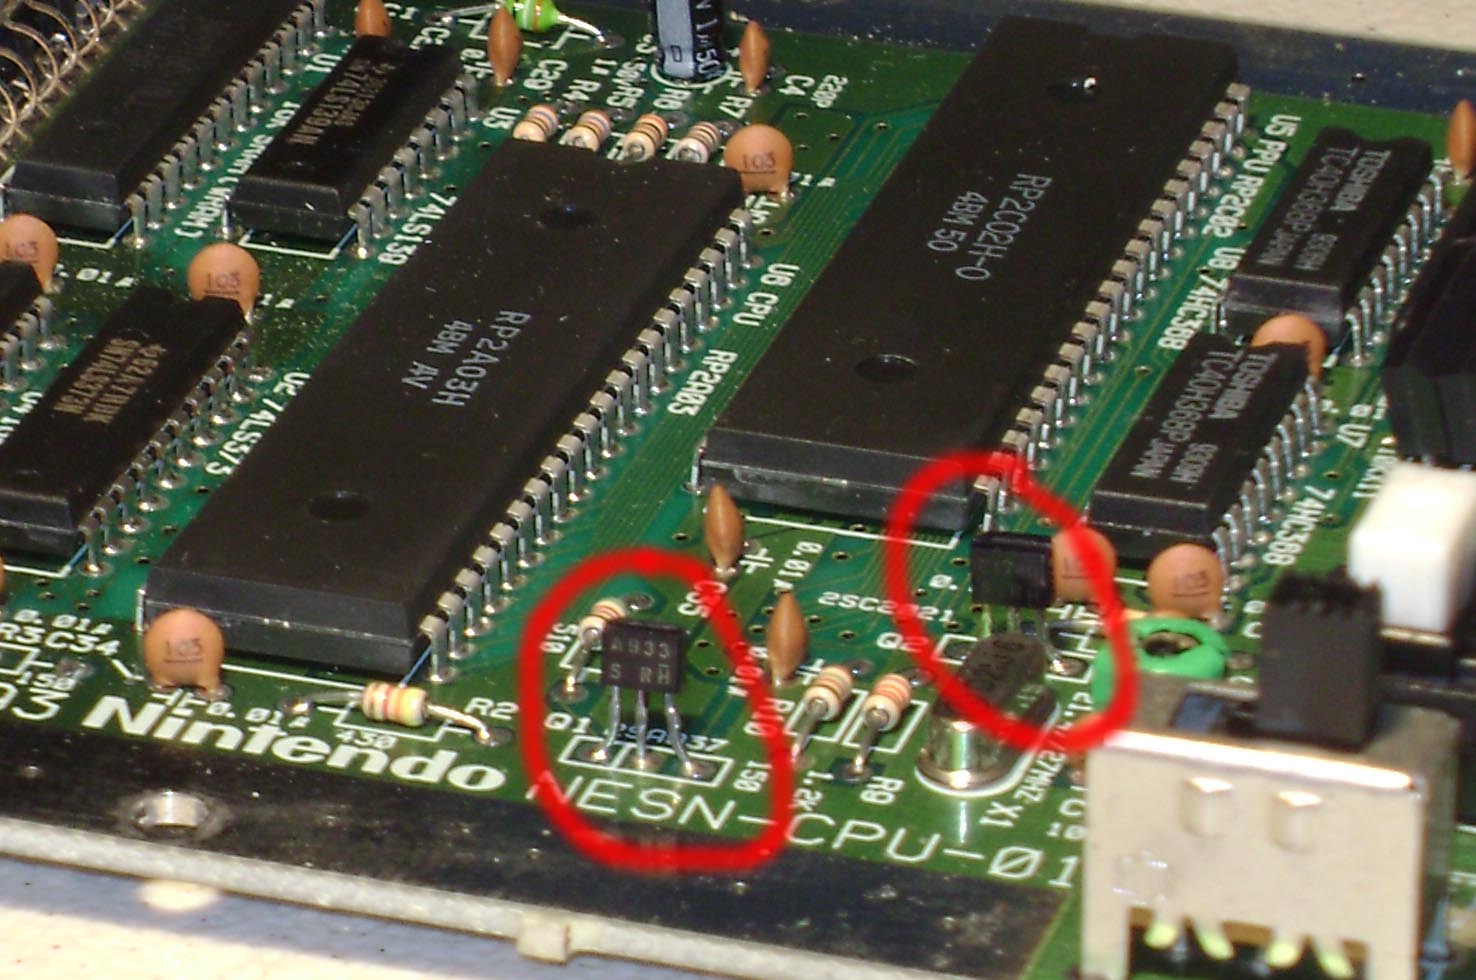
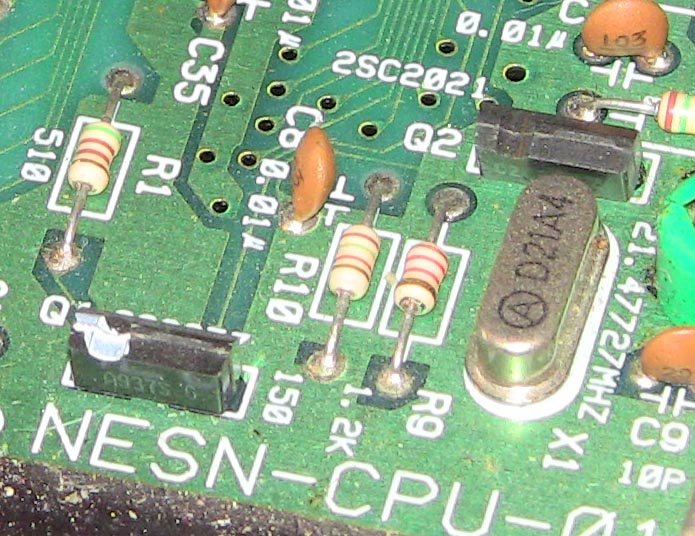
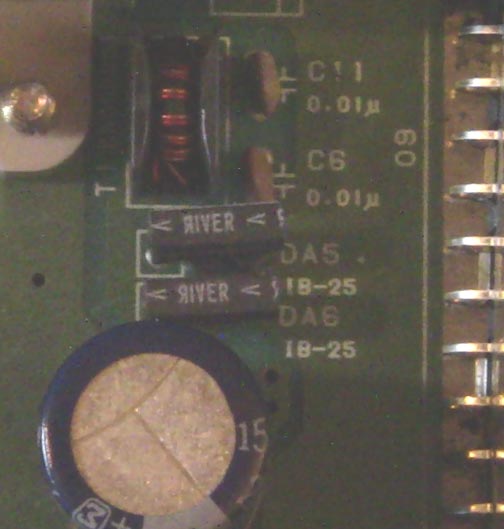
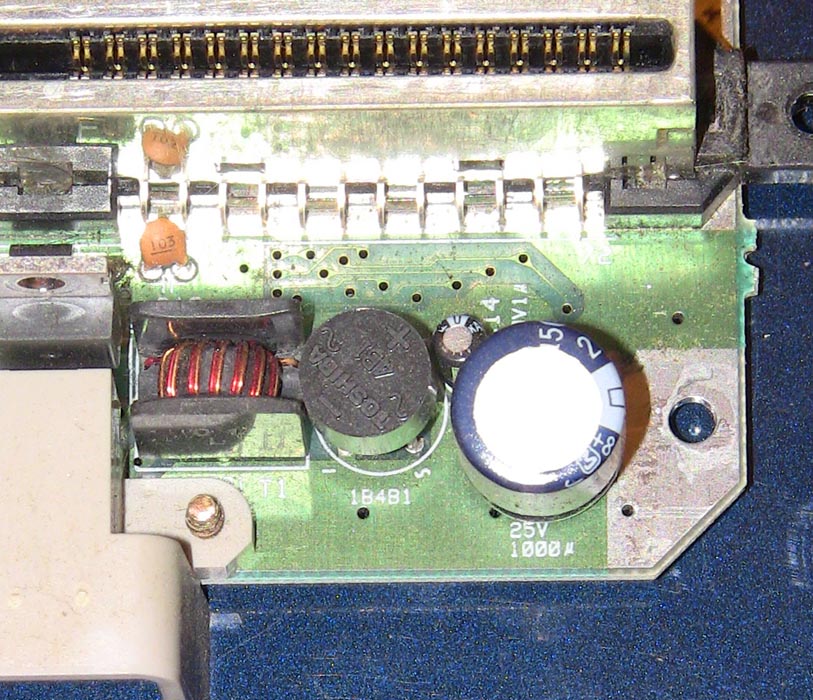
I’ve also had numerous consoles with a sticker placed over the original serial number sticker and the new number was usually a NN9000*, but i’m sure these were units sent in and repaired. Here is a pic of one I noticed with both Q1 and Q2 replaced, the transistors involved in the video and clock circuits. Next to it is a pic of the original transistors.
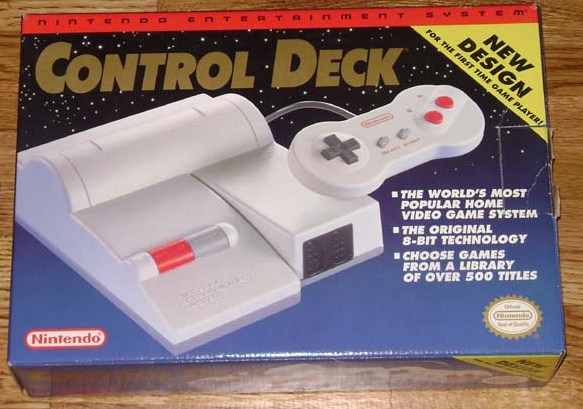
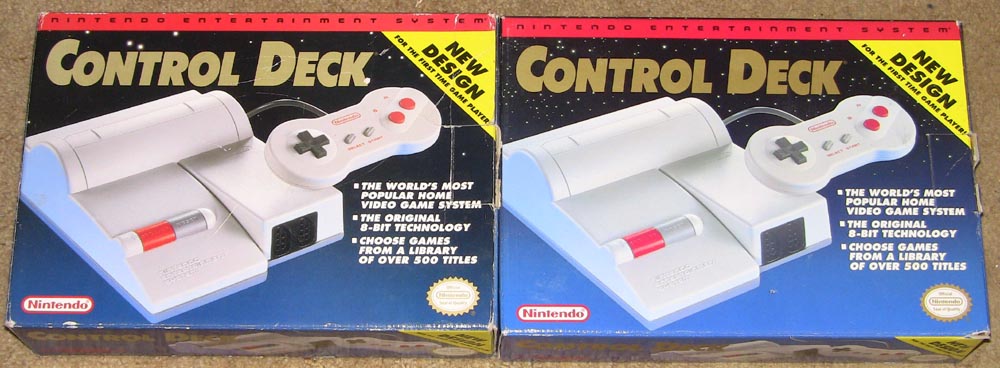
Boxed systems:
Over the years I’ve had few boxed systems comparatively, I would say only about a dozen, not many.
There are in fact two versions of the box, one has more stars than the other.
Again no known extra value associated with either.
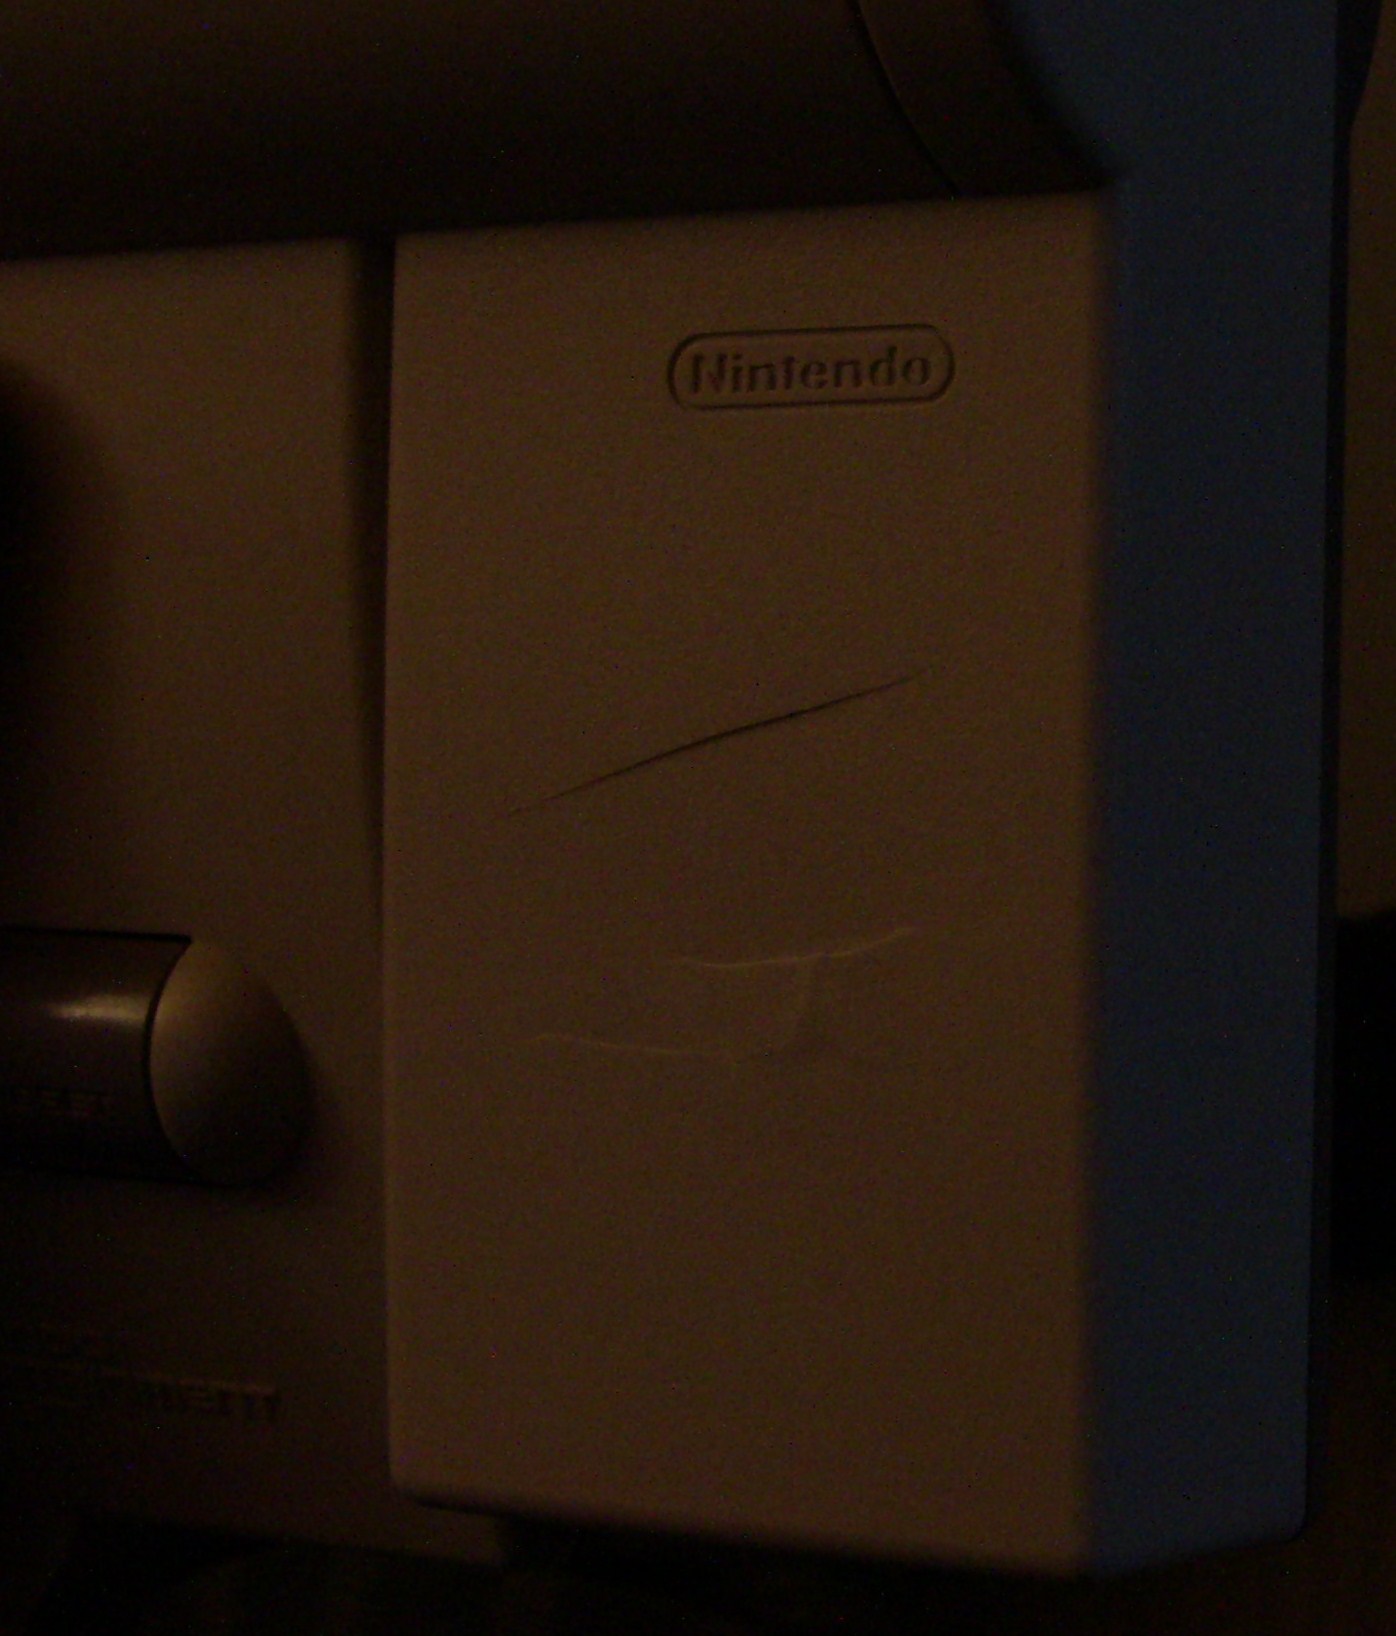
The biggest collector issues with the boxed systems are typical: box and styrofoam condition and completeness of components (baggies, ties, and included manuals and posters etc). However there is one step beyond that, the warranty label on the back of the box, RARELY will you find one with a complete intact proof of purchase card. They normally tore that off at the checkout counter to send in to Nintendo.
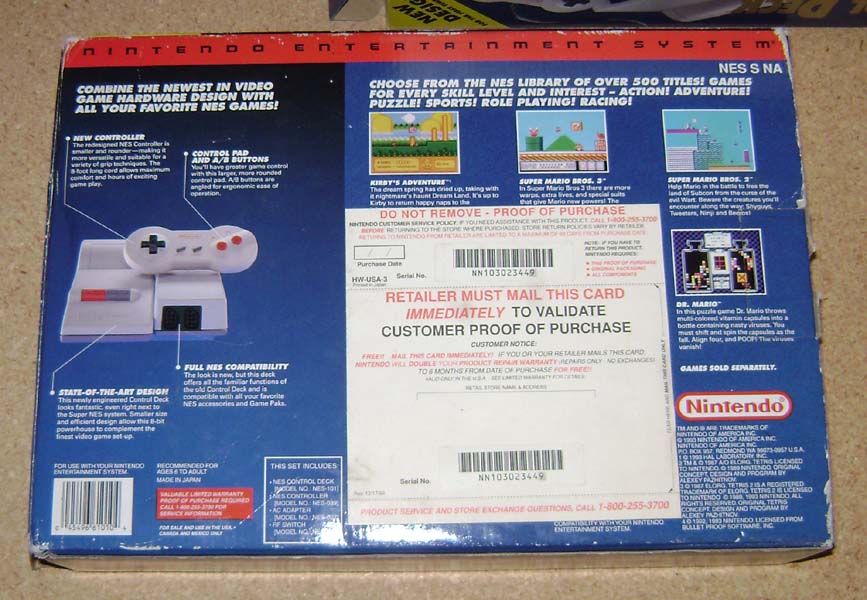
Half of the boxed systems i’ve owned looked like this first pic, the rest never had a P.O.P. card glued to the back.
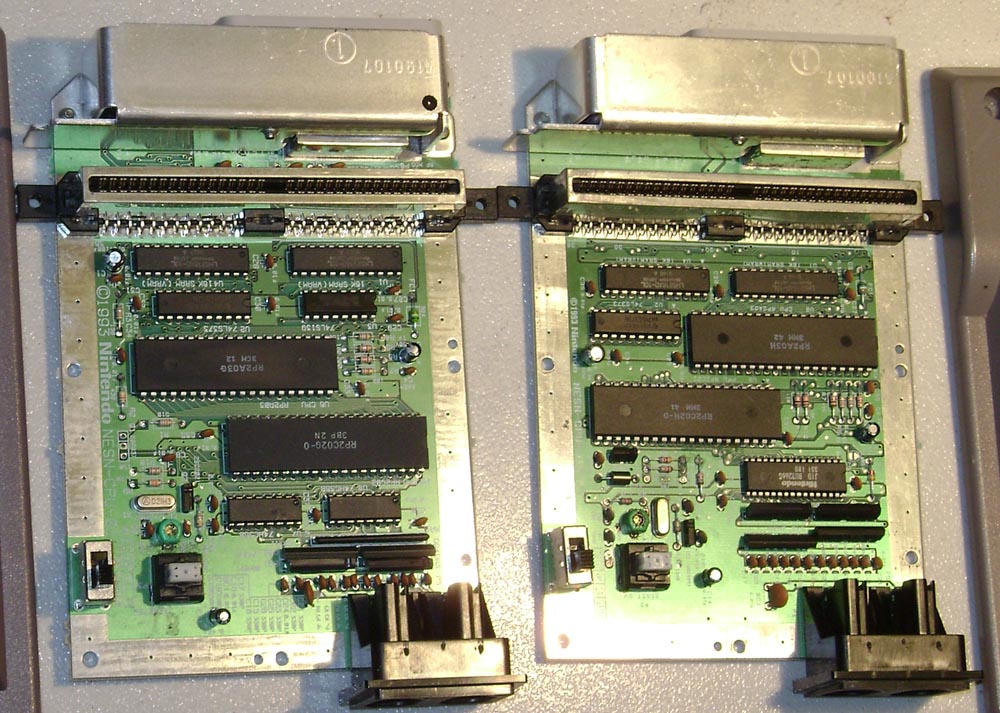
Rare revised models:
Nintendo actually replaced a very limited number of consoles with a redesigned circuit board when a unit was sent in with a complaint of poor video quality. There are two versions known to exist, one has a multi-out connector like on the SuperNES and the other has a normal r/f out connector and is indistinguishable from the rest other than excellent video quality output. I’m sure there are many owners out there with this version and don’t even know it since you cannot tell by simply looking at it. Since I mod all the units I buy I open them up and I just happen to find one like this. Check out the youtube video, here.
This is a side by side pic, old style board left and revised board right.
These pics show the different rectifiers used in the redesigned board, left 2 pics, versus the original board on the right.
Accessories:
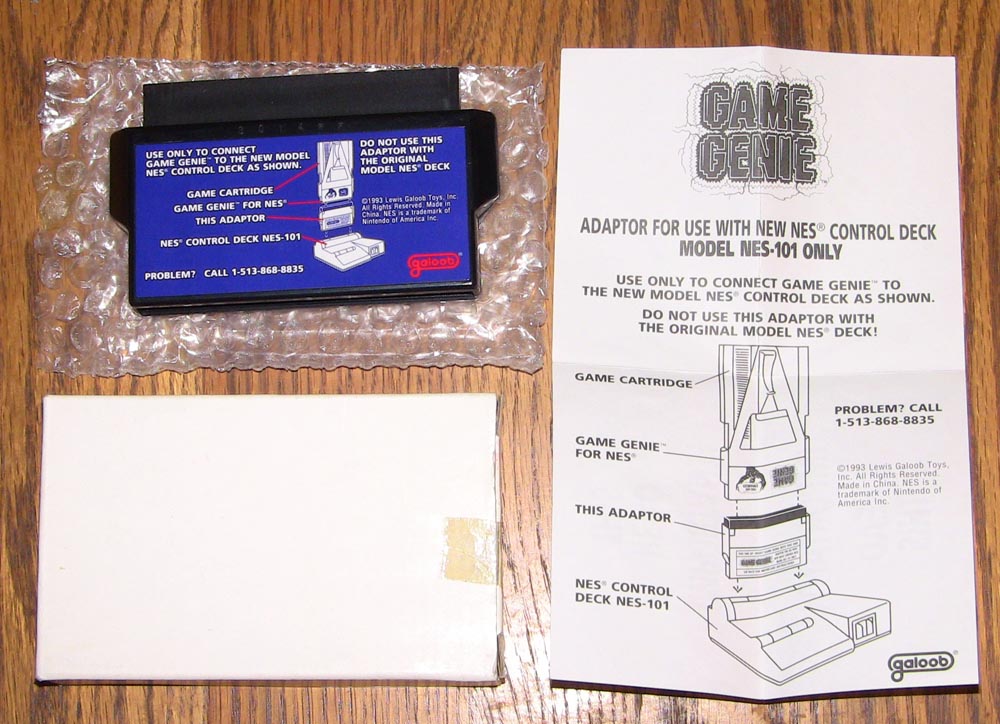
The top loader is completely compatible with all accessories that work on the front loader, save the Game Genie and those controllers that use the audio jack to send audio to a headphone jack on the controller. The game genie was designed to also help with ZIF problems, it had a thicker card to help with worn contacts on the front loader nes. This is also why it doesn’t work with the top loader, the connector cannot handle the thicker card unless you really force it in, but this may damage the connector. Galoob even made an adapter to fix this, it was free, all you had to do was ask for it. I’ve had two and seen a few others for sale on ebay for BIG money, they are REALLY rare.
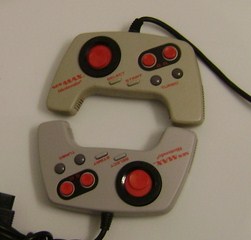
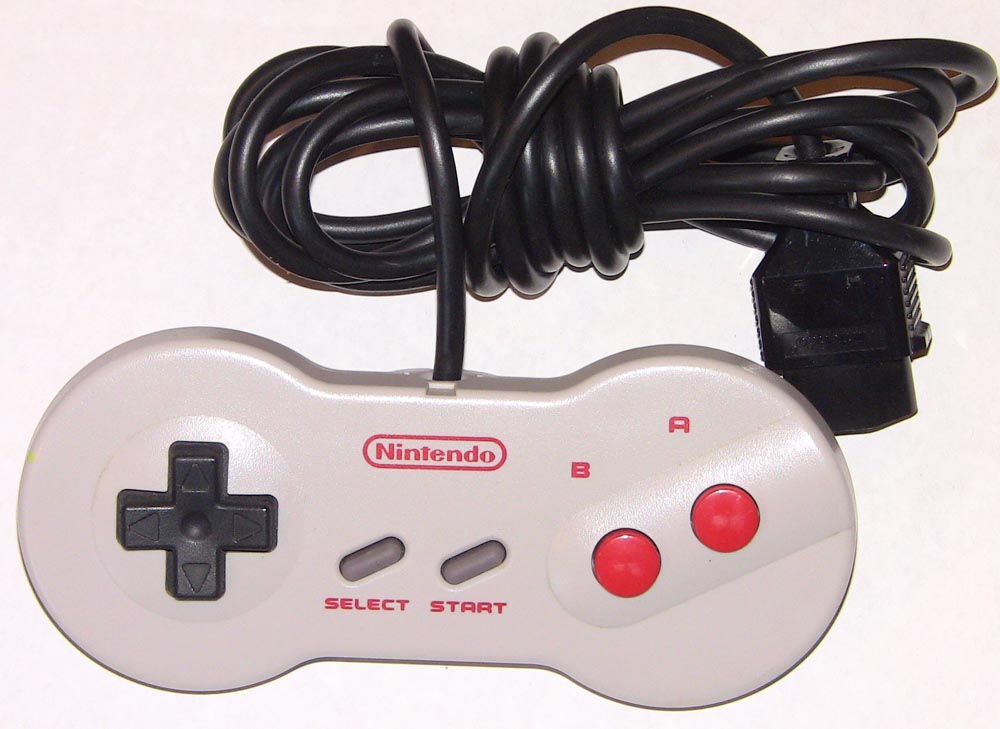
The Dogbone is the star of the accessory show in the top loader world. It actually resembles a bone and for this reason you will see many with dog teeth marks in it, I’ve had hundreds of these controllers, I would know! A lot of people prefer them to the original square pads, ergonomically, but it’s your opinion. They are rare when compared to the square pad and are seeing more and more collector attention and hence an inflated price. The best way to know what shape the dogbone is in is to look at the back, thats where all the dirt collects and wear shows up.
You have a console, but with problems, maybe I can help:
A common and easy problem I encounter when testing an unmodded console is a bad or no picture through the r/f hookup. Usually the channel select switch is corroded and causing the issue. I simply work it back and forth several times, I don’t even bother to turn the console off or anything, a quick and easy fix.
On a similar note, the r/f jack may be corroded and causing bad video out, but I’ve never had this happen on a top loader, but it happens to almost every Atari system. Same kind of fix though, just work the jack back and forth on and off the connector and the video will get better.
Of the many units that I’ve bought and sold I’ve only had one that had a controller port problem, but it does happen and I check all the units that pass through my door just to be sure. The solder joints on the circuit board crack from excess movement while inserting or removing a controller connector. It’s an easy solder reflow fix.
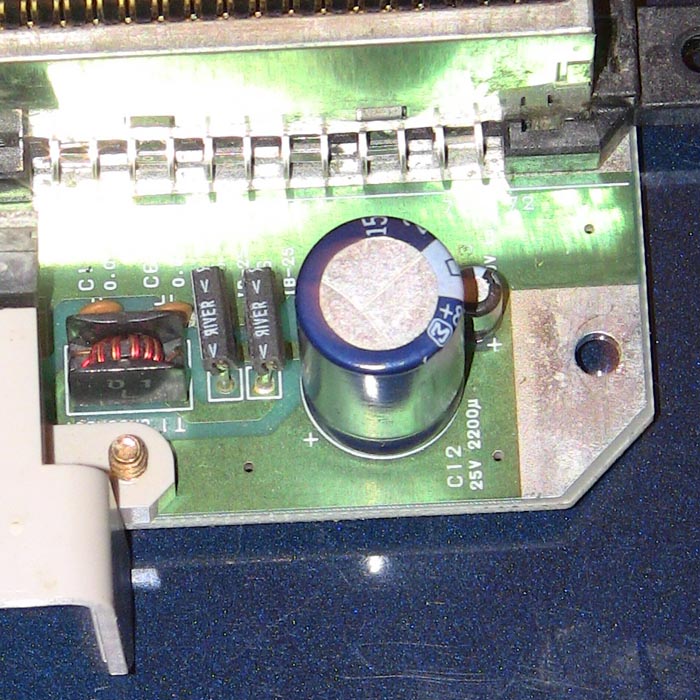
I’ve also had several units that the 1500uF power filter capacitor went bad. Usually there will be no video or sound output or horrible video/sound output. One way to diagnose bad caps is to leave it turned on for a long time with an occasional off/on to see if it improves, if it does, it’s the caps. If the cap has totally failed this may not show any improvement no matter how long its left on. This also works for all older systems.
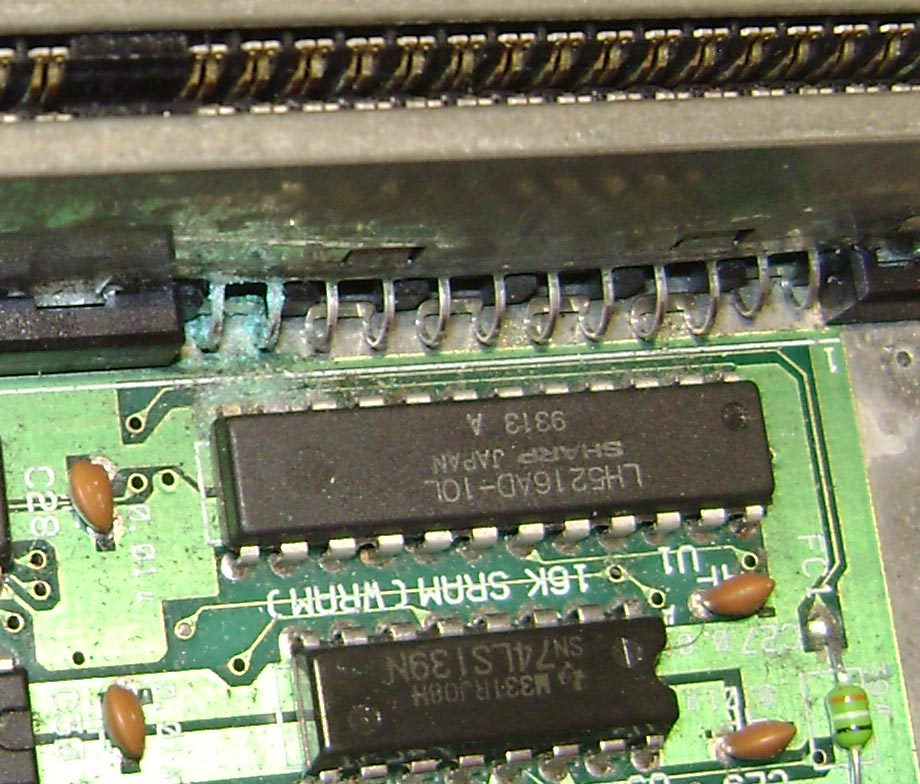
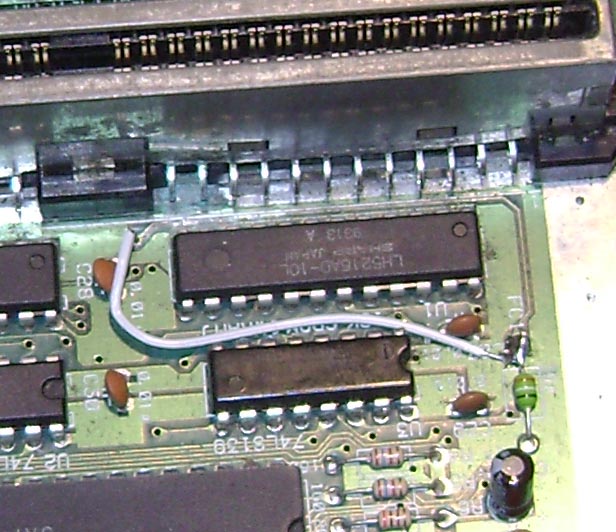
Another uncommon but huge problem is damaged circuit board traces due to some liquid getting in through the cart throat and making its way down past the cart connector finding a spot to fester and corrode whatever trace it’s on top of. You will not see this by simply inspecting the console, but if the cart throat is nasty there’s a reason… Trace repair is not easy but it is doable, solder in a wire in place of the bad trace or get a trace repair pen that deposits a silver liquid in place of or even on top of the bad spot in the damaged trace.